
Scenes
Title and Description Text
A scene in our software is fundamentally composed of two elements: a Scene Title and a Description Text. When creating a new scene, the description text starts with a preassigned Text Framework. This framework can be customized to your personal needs in the StoryIt Go settings.
Microplots
This program supports the use of microplots within scenes. To incorporate a microplot, toggle the 'Use microplot?' option to 'On' above the scene description. The 'Edit microplot' navigation element allows for editing both the description text and the individual beats of the scene. In the MICRO-PLOT EDITOR, use the '+' symbol at the top right to add new Beats. Beats can be moved via drag & drop and edited by clicking on the text. To delete a beat, swipe the text to the left.
Capture Manuscript Texts
This software offers the capability to capture manuscript texts during planning. These texts will also be included in the 'Scene Plan' output file.
The AI Co-Author: Your Intelligent Partner in the Writing Process
With Version 2.2, StoryWriterTool evolves into your digital writing partner. The AI Co-Author is not just a simple text generator—it understands the deep architecture of your story and helps you overcome writer's block by creating sophisticated manuscript drafts based on your specific planning.
How the AI Co-Author Works
Powered by Apple Intelligence, the Co-Author works entirely locally on your device. It doesn't just "read" your current scene description; it analyzes the entire framework of your story to draft a text that fits seamlessly into your book.
Factors for the Perfect Draft:
To create a high-quality draft, the AI utilizes all the information you have already stored in StoryWriterTool:
- Scene Context: Describe the setting, the characters involved, and the core action. The more detail you provide, the more precise the draft will be.
- Emotional Arc: You define the mood at the beginning and the end of the scene, as well as the overall "Atmosphere." The AI modulates its prose style to match these emotional shifts.
- Structural Logic: The Co-Author knows exactly where the scene sits within your plot structure (e.g., Act 2, Midpoint, or Climax). It also considers the end of the previous scene and the start of the next one to ensure perfect transitions.
- The Red Thread (Snowflake Method): If you have already entered your premise or the "5 Sentences" of the Snowflake Method, the AI uses them as an anchor to keep the narrative on track.
- Psychological Depth: A unique feature of StoryWriterTool is the integration of Transactional Analysis. The AI analyzes the personality profiles of your characters to ensure dialogues and reactions remain authentic and true to their specific ego states.
Step-by-Step: How to Use the AI Co-Author to Create Your First Draft
1. Prepare the Scene
Open a scene in your project. Fill in the fields for Scene Description, Characters, and Locations. The more precise you are here, the better your draft will be.
2. Set the Mood
Define the emotional charge of the scene. How does it start (e.g., hopeful)? How does it end (e.g., desperate)? This "emotional journey" dictates the rhythm of the text.
3. Generate the Draft
Tap the AI Co-Author icon labeled "Draft text with AI Co-Author." The app will now calculate your draft locally. You’ll see visual feedback through synchronized animations while the AI weaves the threads of your story together.
4. Accept & Refine
The generated text is inserted into your manuscript as a draft. You retain full creative control: use the draft as inspiration, revise it, or let it be the foundation for your next chapter.
Note: The AI Co-Author button is only visible if your smartphone supports Apple Intelligence.
🔒 Privacy Guarantee
Your creativity belongs to you. Unlike other AI tools, StoryIt Go never uploads your data to the cloud. All calculations happen directly on your device’s processor. Your story stays private and secure.
Date From / Date To
The 'Date from/Date to' fields are displayed only if the 'Story with date' option was activated when creating the story.
Mood
Each scene in a story can be enhanced with mood changes. The 'Mood beginning' and 'Mood end' fields are for adjectives that accurately describe the mood. The prevailing mood of each scene can be set, contributing to the mood curve. To select the mood, choose an emoji.
Characters Involved and Locations
Once characters are created in the project, a small character icon appears in the scene editor's header. Use this icon to manage characters appearing in the scene. Selected characters are displayed in the 'Participating Characters' section, which can be viewed by clicking on the icons. Similarly, once locations are created, a small tree icon appears for managing scene venues, with names displayed in the 'Locations' section.
Key Moments
When key moments are created, a small key icon appears in the scene editor. Use this to manage the key moments of the scene. The 'Key Moments' section displays the names of key moments included in this scene, and you can view each by clicking on the respective name.
Creating, Changing, Deleting, and Editing a Scene
- To create a new scene, navigate to the MY STORY page. Here, you'll find a list of your project's plot points. Click on a plot point name to create a new scene, which will be added as the last scene under that plot point.
- To change a scene to another plot point, navigate to MY STORY and swipe the scene to the left. A menu appears. Tap the gray arrows to move the scene.
- To delete a scene, swipe the scene title to the left and tap the red button.
- To edit an existing scene, go to the MY STORY page. Expand plot points using the small arrow on the right and click on a scene name to edit. Scenes can also be edited from other areas in StoryIt Go, such as the timeline or story grid, by clicking on the scene name.
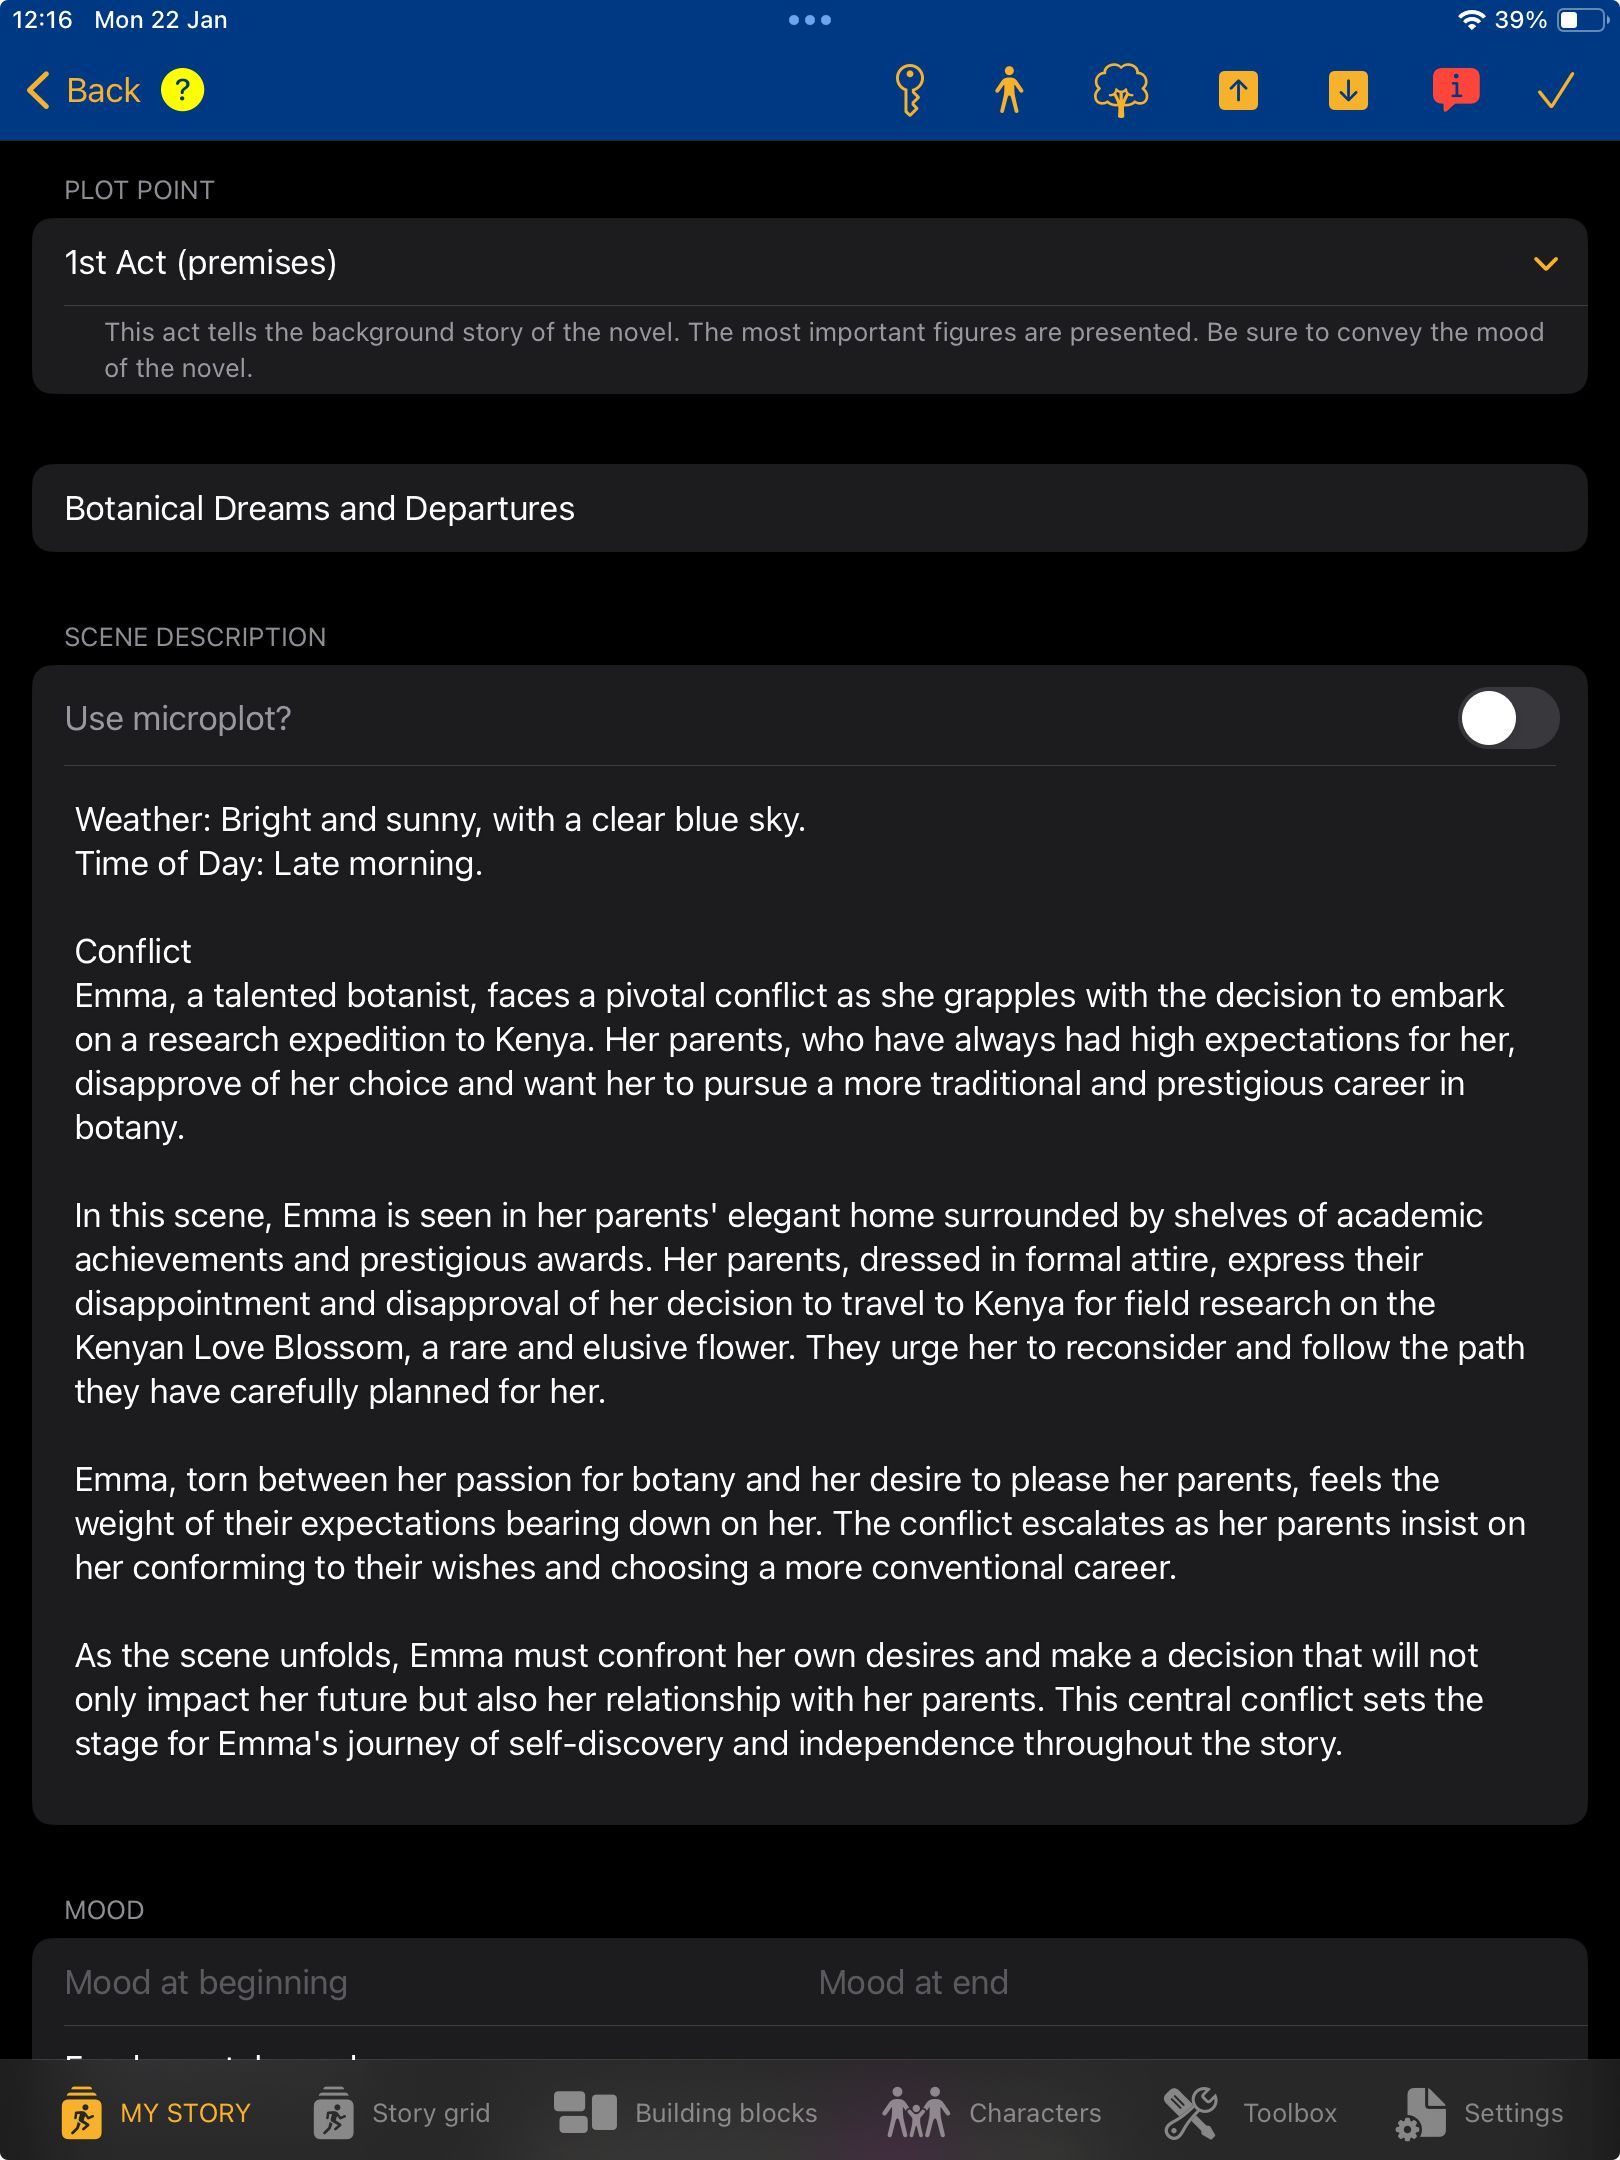
Clicking on the small arrow behind the name of the plot point opens the description.

Completed key moments are marked with a green tick.
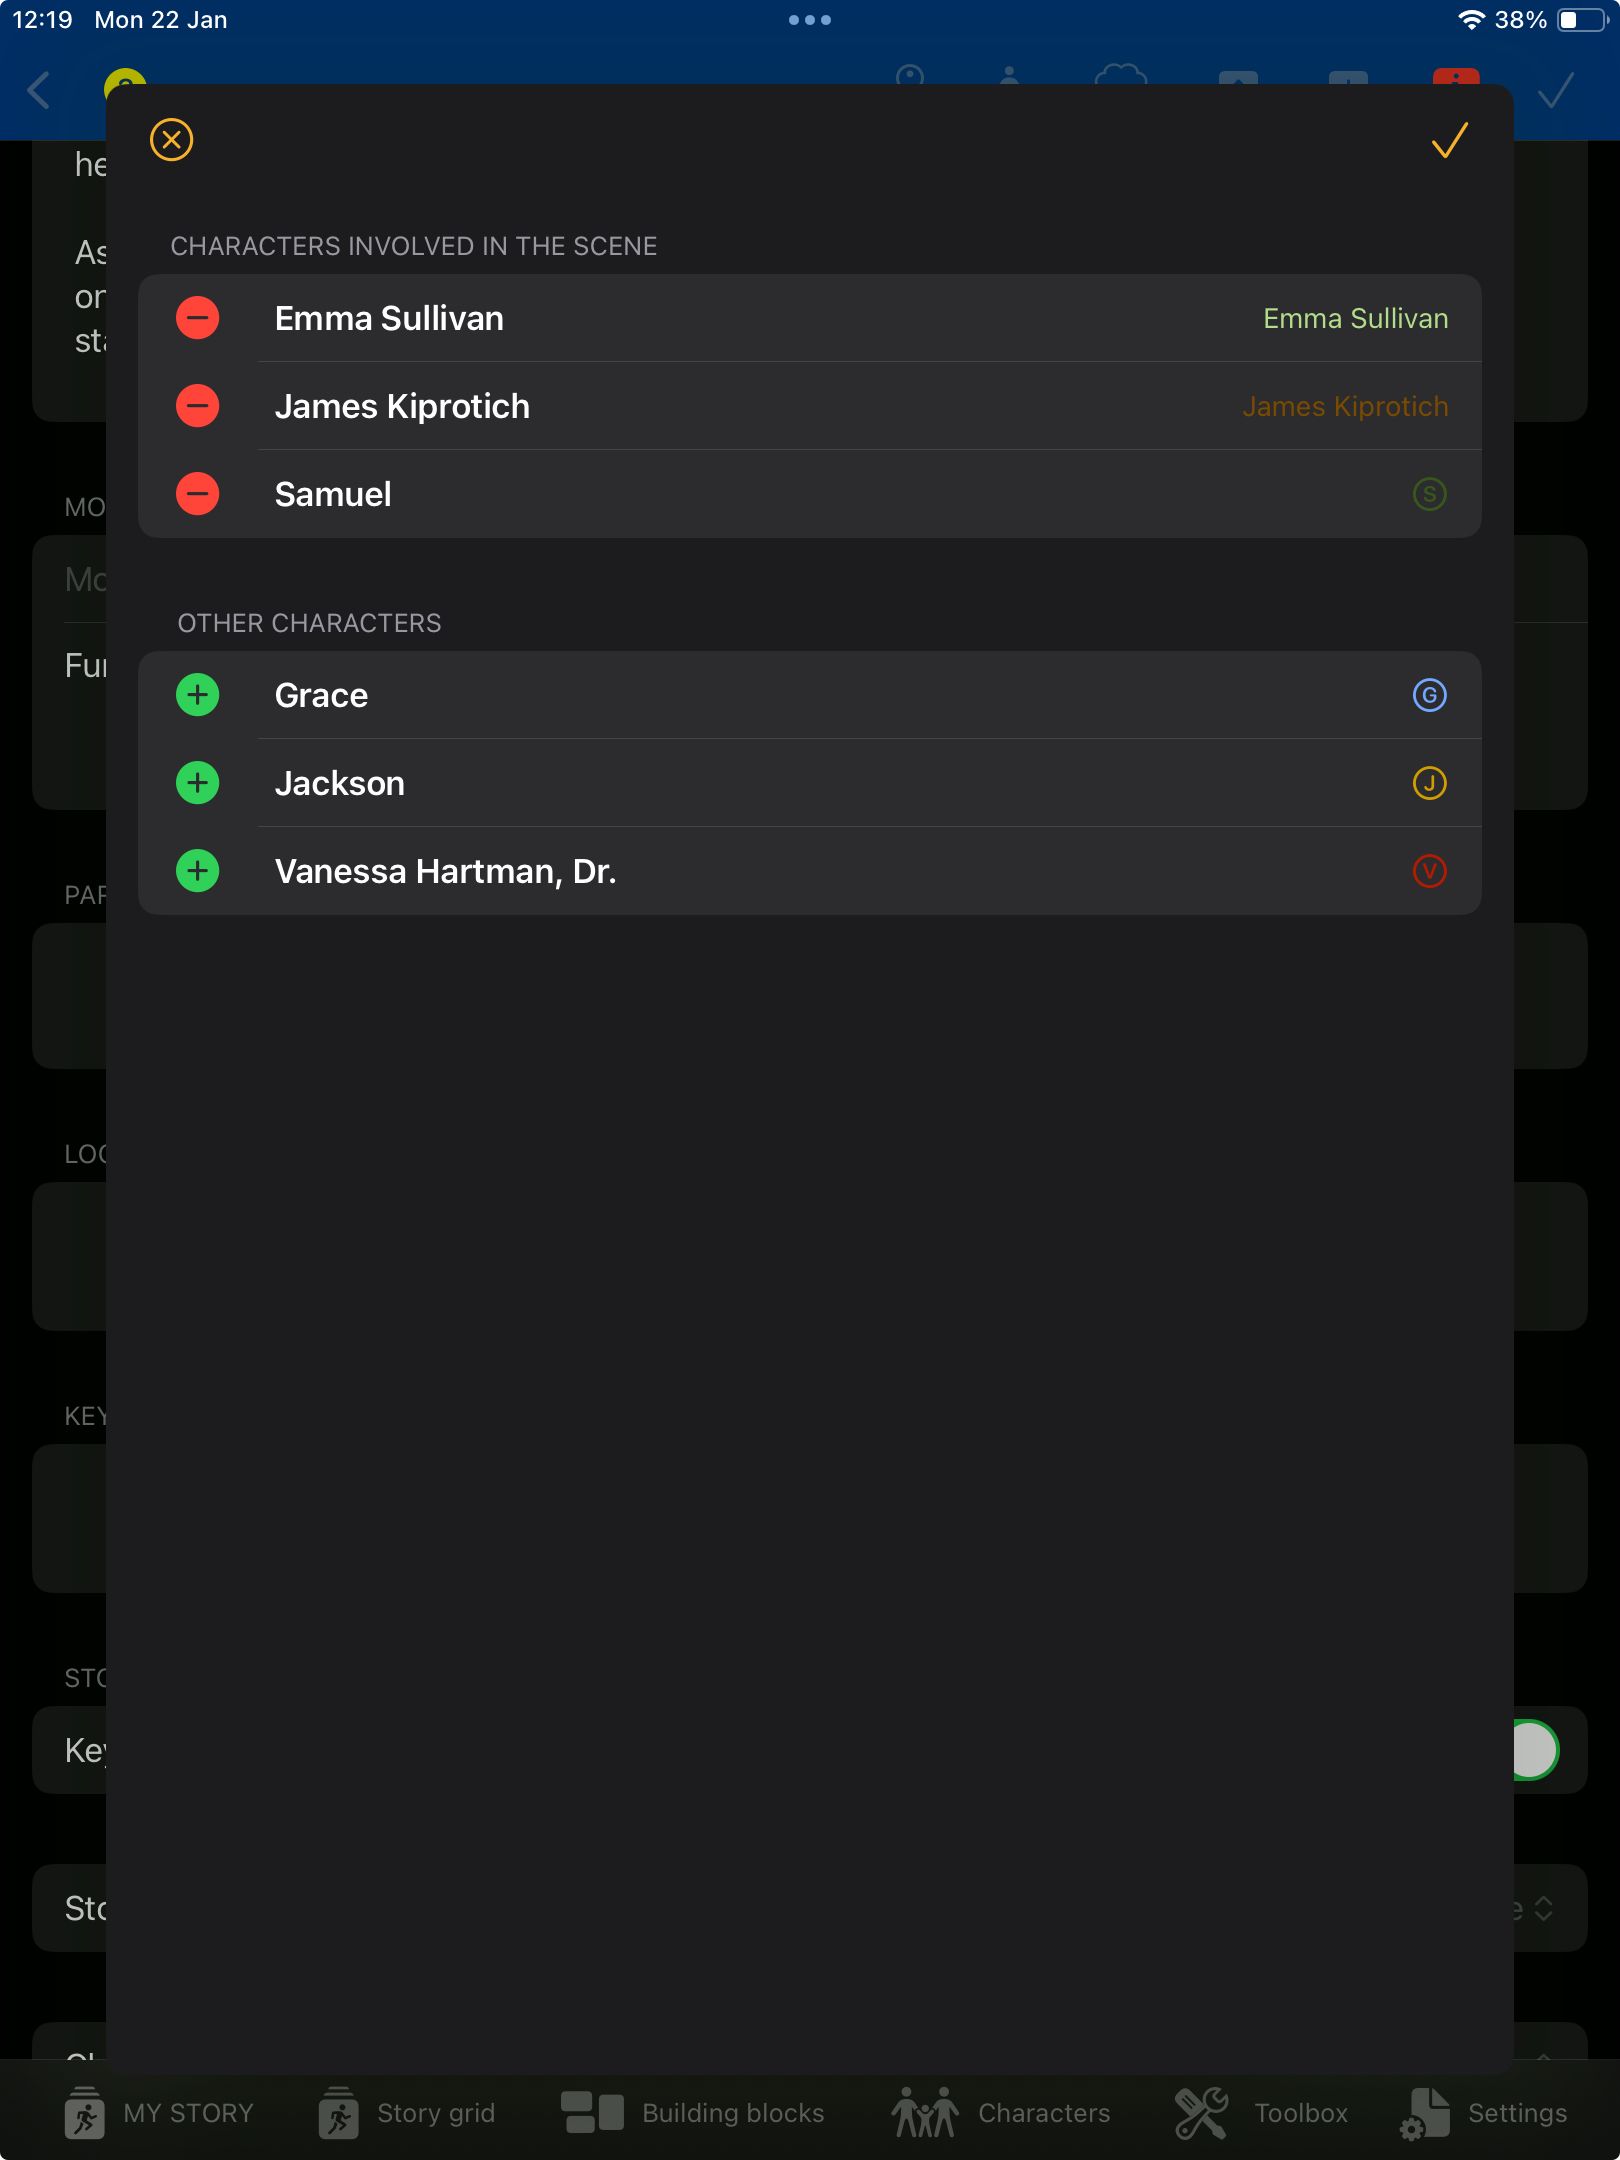
Manage characters involved in the scene.
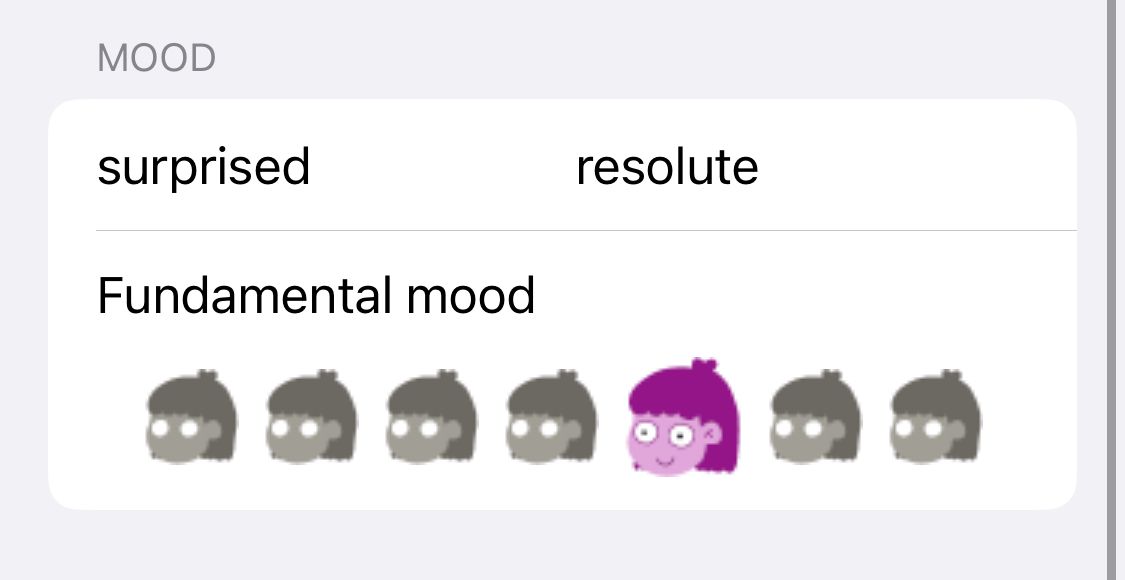
To indicate the overall mood of a scene, select an emoji that best represents the emotional tone. The range of emojis spans from 'terribly sad' (far left) to 'neutral' (middle) to 'overjoyed' (far right). This selection helps visually convey the scene’s emotional atmosphere.